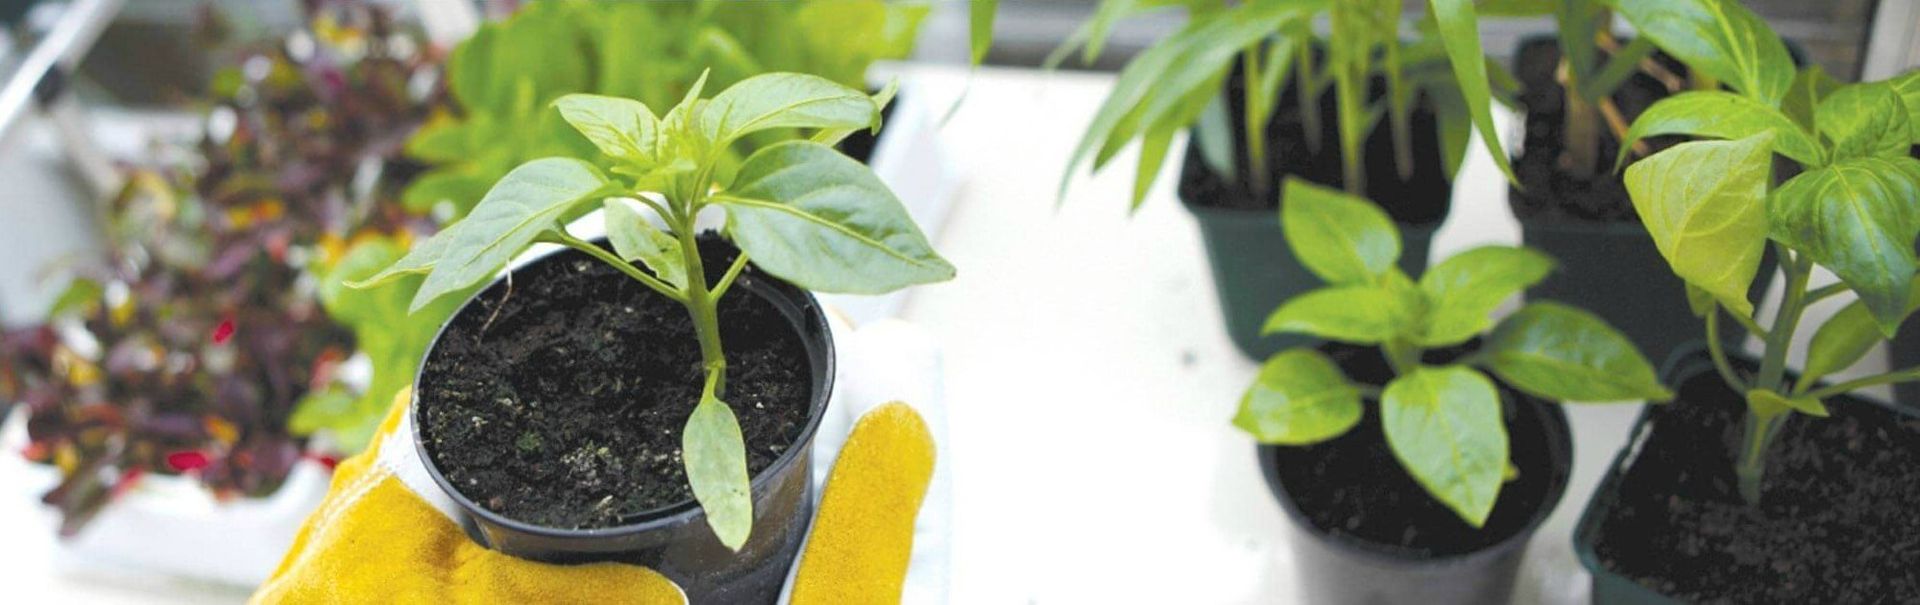
Plant Propagation from Seeds
Enjoy the diversity of your plants' characteristics
We recently discussed how to clone and propagate plants
and whilst great for the connoisseur, propagating from seeds is for those who are starting out or growing a fresh crop from scratch. Each seed has its own genetics and will grow into a plant with completely unique characteristics.
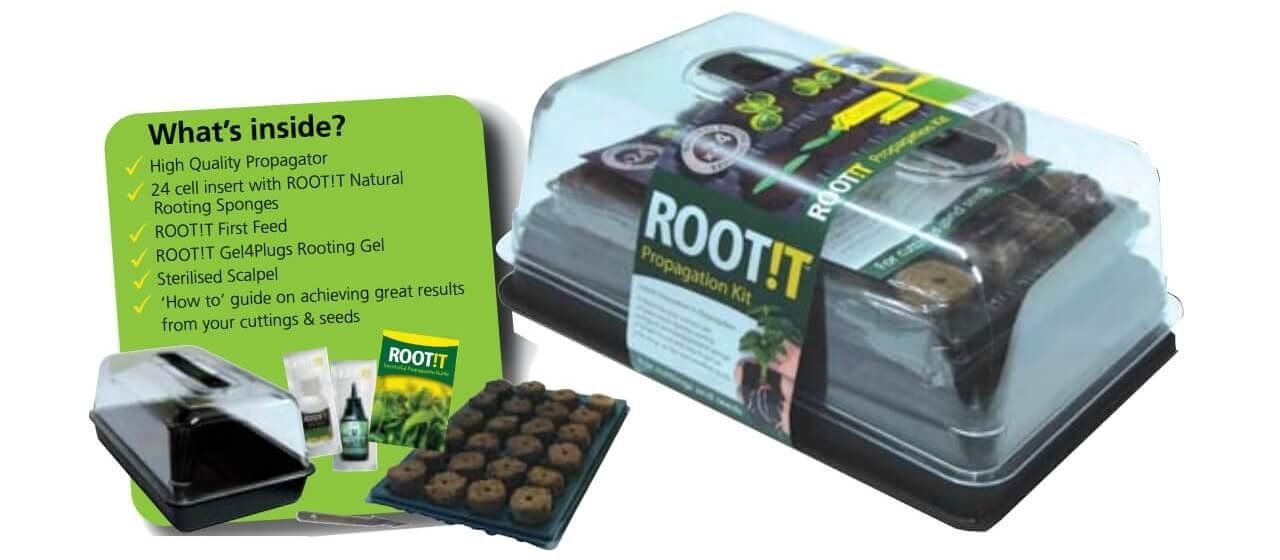
The plant cloning method in our recent article uses the ROOT!T Propagation Kit
and we are going to focus on the same equipment as we talk about growing from seeds.
Germination
Before growing the seeds need to be germinated. Ensure the seeds being used are relatively fresh and ideally from a sealed container or packet. Seeds that have been previously opened can be stored at a low temperature such as 10 degrees Centigrade (50 degrees Farenheit) and this will help them to stay dormant for longer. Most packets of seeds have an expiry date upon them and if you have a packet of seeds that has passed its date, get a new pack rather than entice the inevitable disappointment of a poor crop.
A traditional method to germinate seeds is to place them in between a sheet of moist tissue in a warm environment. After a day or two the radicle (root) will break through the seed shell.
Another method is known as 'Scarification'. For small hard seeds a jar can be lined with rough sandpaper for the seeds to be shaken within it. The impact on the seeds is such that they are more likely to absorb water and germinate. For larger seeds that be easily hand-held an incision can be made into the skin.
A modern way is to soak them in Nitrozyme
for about 24 hours and then transfer them to the propagator. ROOT!IT Natural Sponges are ideal for this and come included in the kit.
If you already have one of these kits or something similar, be sure to sterilise the kit if it has been used before. The same applies to the table, tools and your hands.
Soak the sponges in water straight before you use them and give them a gentle squeeze so that they do not hold too much water. For growthstimulation the ROOT!T First Feed in the kit can be added to the water. Place each seed into the small hole at the top of a sponge with the radicle facing downwards. A depth of about 5mm is ideal and tweezers can be used for smaller seeds. Tearing off a small corner from the sponge to place over the seed will increase the humidity and reduce the lighting levels to give an environment that they prefer.
Place the tray of sponges into the propagator and close the vents. This maintains a stable temperature and contains the humidity. The best temperature is between 22 and 25 degrees centigrade and a ROOT!T Heat Mat
is a brilliant way to keep this steady.
To eliminate condensation be sure to occasionally remove the lid and wipe over with a clean cloth. Be sure not to over-water the seeds as they will not thrive in a waterlogged environment. The seeds will take up to 10 days for the roots to break through to the bottom of the sponges, with about 3-5 days being the typical timescale.
Once they reach this stage it is then time to progress to the next level!
There are plenty of growth methods, the traditional way of using soil and also aquaponics, aeroponics and of course hydroponics. In a future article we will discuss the various hydroponic systems that are available along with their features and benefits.
Store Links

© Emporium Hydroponics 2022. All Rights Reserved.